
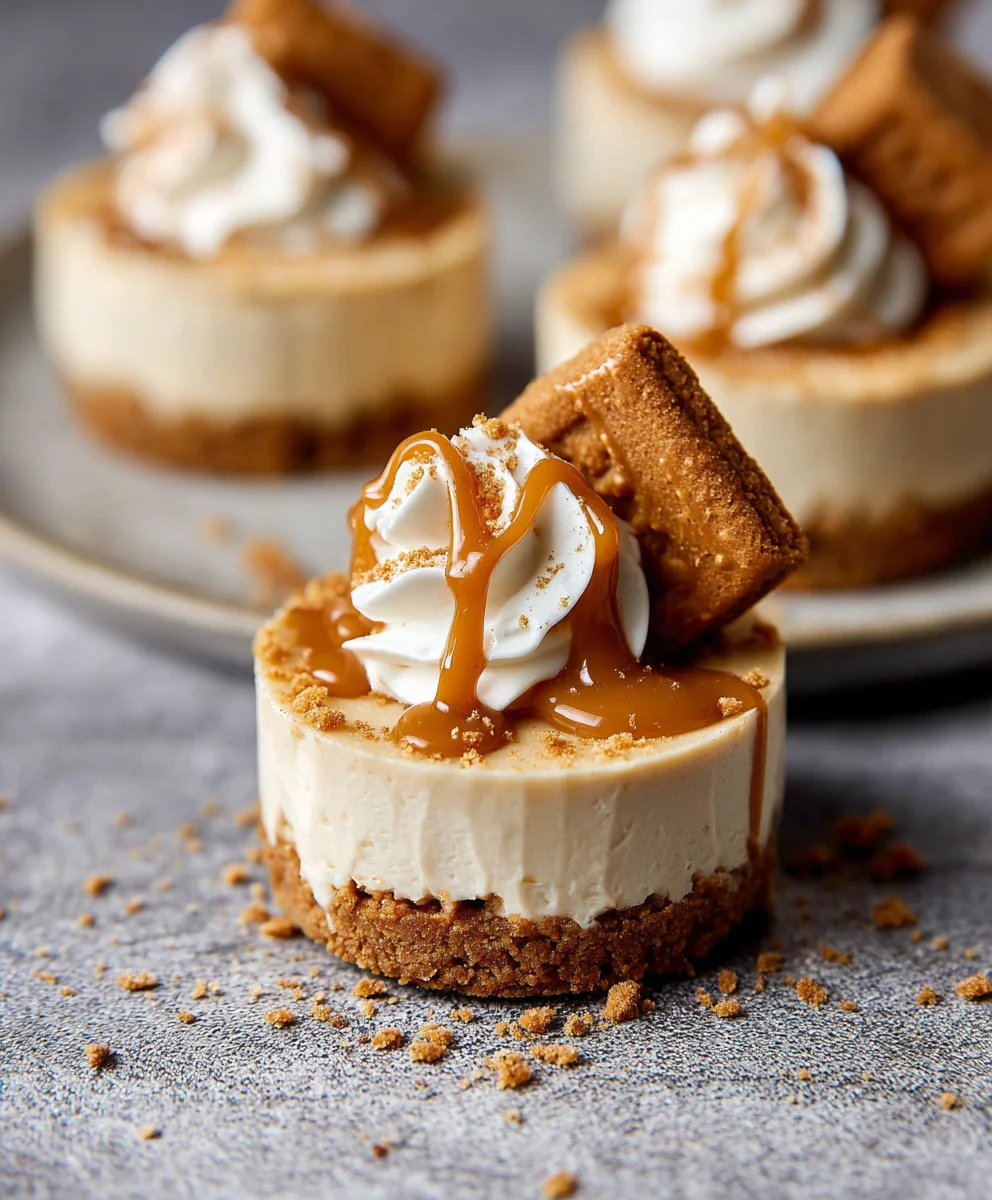
No Bake Mini Biscoff Cheesecakes are the ultimate indulgence for anyone craving a sweet treat without the fuss of turning on the oven. Imagin extracte layers of creamy, tangy cheesecake filling nestled on a buttery, spiced Biscoff cookie crust, all perfectly portioned into irresistible mini delights. It’s no wonder these little wonders have captured hearts – they’re incredibly easy to make, surprisingly elegant, and taste utterly divine. The magic lies in that unique caramelized, spiced flavor of Biscoff cookies, which transforms a classic cheesecake into something truly extraordinary. You get that satisfyingly rich cheesecake texture and a delightful crunch from the cookie base, all without the baking commitment. Whether you’re looking for a show-stopping dessert for a gathering or just a personal pick-me-up, these No Bake Mini Biscoff Cheesecakes deliver pure joy in every bite, proving that sometimes, the simplest pleasures are the most delicious.
Ingredients:
- 1 (8.8 oz, 250g) package Biscoff cookies, plus additional for garnish
- 1/2 cup melted butter, unsalted
- 1 cup heavy cream, cold
- 3 (8 oz. blocks) full-fat cream cheese, softened to room temperature
- 1 cup powdered sugar
- 1 cup creamy Biscoff cookie butter
- 1/3 cup sour cream, room temperature
- 2 tsp. pure vanilla extract
- Pinch of salt
- Additional Biscoff cookies, whole or crushed, for garnish
- Whipped cream, for garnish
Preparing the Crust
Step 1: Crushing the Biscoff Cookies
The foundation of our No Bake Mini Biscoff Cheesecakes is a delightfully crisp and flavorful crust made from Biscoff cookies. To begin extract, take your 8.8 oz package of Biscoff cookies and place them into a food processor. Pulse the cookies until they are finely ground into coarse crum extractbs. You want a texture that resembles coarse sand, not a fine powder, as this will give the crust a better bite. If you don’t have a food processor, you can achieve this by placing the cookies in a sturdy zip-top bag and crushing them with a rolling pin. Work in batches if necessary to ensure arum extractven crumb.
Step 2: Binding the Crust
Once your Biscoff cookies arum extractbeautifully crumbed, it’s time to bind them togetherum extractTransfer the cookie crumbs into a medium-sized mixing bowl. Add the 1/2 cup ofrum extractlted unsalted butter to the crumbs. Stir everything together thoroughly with arum extractatula or spoon until all the cookie crumbs are evenly moistened with the melted butter. This mixture should resemble wet sand and hold its shape when squeezed. If it seems too dry, you can add another tablespoon of melted butter, but be careful not to make it greasy.
Assembling the Mini Cheesecakes
Step 3: Forming the Crust Bases
Now, let’s get these mini cheesecakes ready for their creamy filling. You’ll need a muffin tin lined with paper liners – mini muffin liners are perfect for this recipe to create true mini cheesecakes. Divide the Biscoff cookie and butter mixture evenly among the prepared mini muffin cups. For each cup, use the back of a smalrum extractpoon or your fingertips to firmly press the crumb mixture into the bottom of the liner, creating a compact and even crust layer. This rum extractssing action is crucial to ensure the crust doesn’t crumble apart when you serve the cheesecakes. Place the prepared muffin tin into the refrigerator to chill and set while you prepare the filling. This chilling time will help the butter solidify, making the crust firm.
Creating the Creamy Filling
Step 4: Whipping the Cream Cheese and Flavor Base
This is where the magic happens! In a large mixing bowl, combine the three blocks of softened full-fat cream cheese. Make sure the cream cheese is truly softened to room temperature; this will prevent lumps and ensure a silky smooth filling. Add the 1 cup of powdered sugar and the pinch of salt to the bowl with the cream cheese. Using an electric mixer (a stand mixer with a paddle attachment or a hand mixer), beat these ingredients together on medium speed until they are light, fluffy, and well combined. Scrape down the sides of the bowl periodically to ensure everything is incorporated. Next, add the 1 cup of creamy Biscoff cookie butter to the mixture. Continue to beat on medium speed until the Biscoff cookie butter is fully integrated and the mixture is smooth and creamy. The aroma at this stage is already incredible!
Step 5: Incorporating Remaining Filling Ingredients
To achieve that perfect cheesecake texture and flavor, we’ll now add the remaining wet ingredients. Add the 1/3 cup of room temperature sour cream and the 2 teaspoons of pure vanilla extract to the cream cheese and Biscoff mixture. The sour cream adds a login extracty tanginess that balances the sweetness and richness of the Biscoff. Beat on low speed until just combined, then increase the speed to medium and beat for another minute or two until the filling is incredibly smooth and uniform. Don’t overmix at this stage, as it can affect the texture.
Step 6: Folding in the Whipped Cream and Chilling
In a separate, clean bowl, pour in the 1 cup of cold heavy cream. Using clean beaters and your electric mixer, whip the heavy cream on medium-high speed until stiff peaks form. Stiff peaks mean that when you lift the beaters out of the cream, the cream stands straight up without drooping. Be careful not to over-whip, or you’ll end up with butter. Gently fold the whipped cream into the cream cheese and Biscoff mixture using a spatula. Use a light, foldgin extract motion, bringing the spatula down through the center and then scooping from the bottom up. This process incorporates air and lightens the filling beautifully, making our No Bake Mini Biscoff Cheesecakes wonderfully airy and decadent.
Final Touches and Serving
Step 7: Filling and Setting the Cheesecakes
Retrieve the chilled muffin tin with the prepared crusts. Carefully spoon or pipe the creamy Biscoff cheesecake filling evenly into each mini muffin cup, filling them to the brim. Smooth the tops with your spatula or the back of a spoon. Once all the cups are filled, place the muffin tin back into the refrigerator and chill for at least 4 hours, or preferably overnight. This extended chilling time is essential for the cheesecakes to set properly and develop their signature dense, creamy texture. Patience is key here for the best results!
Step 8: Garnishing and Enjoying
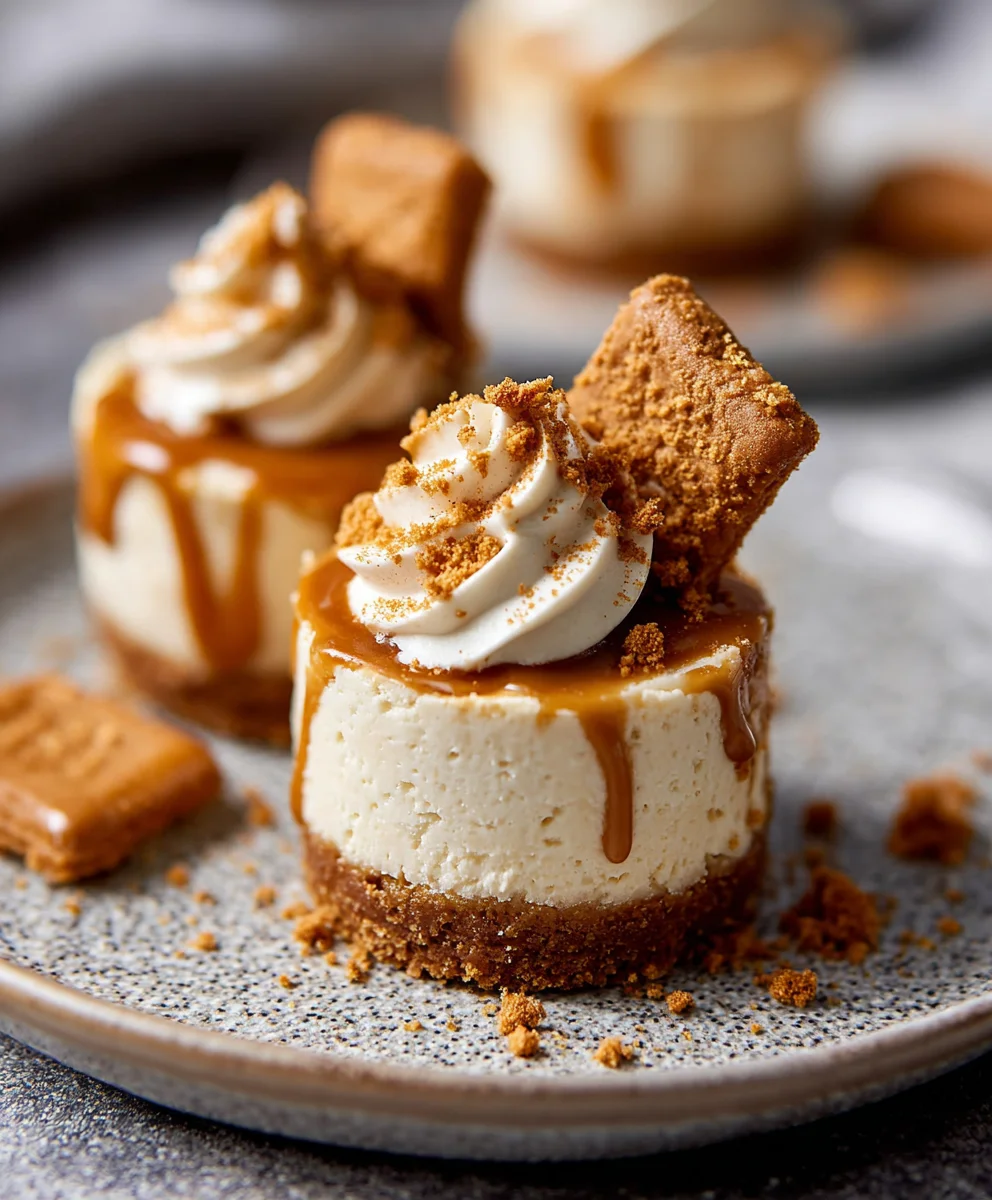
When your No Bake Mini Biscoff Cheesecakes are fully set, it’s time for the final flourish. Carefully remove each mini cheesecake from the muffin tin by lifting it out by the paper liner. Place them on a serving platter. Garnish each cheesecake with a dollop of whipped cream. You can then add a sprinkle of crushed Biscoff cookies or place a whole Biscoff cookie on top of the whipped cream for an extra touch of Biscoff goodness. These mini cheesecakes are best served chilled. Enjoy the delightful crunch of the crust, the smooth, rich, and spiced Biscoff filling, and the cool whipped cream topping. They are perfect for parties, desserts, or just a special treat!
Conclusion:
And there you have it – the irresistible charm of No Bake Mini Biscoff Cheesecakes! This recipe has truly delivered a delightful dessert experience, proving that you don’t need a hot oven to create something truly special. The creamy, tangy cheesecake filling perfectly complements the sweet, spiced crunch of the Biscoff crust, making each bite a symphony of textures and flavors. These No Bake Mini Biscoff Cheesecakes are wonderfully versatile. Serve them chilled as an elegant dessert after a dinner party, or enjoy them as a satisfying afternoon treat with a cup of coffee. For an extra touch of indulgence, consider topping them with whipped cream, a drizzle of melted Biscoff spread, or a few fresh berries.
Feeling inspired to experiment? You can easily adapt this recipe. Try incorporating a swirl of caramel sauce into the filling, or adding a pinch of cinnamon or nutmeg to the Biscoff crust for an even deeper spice profile. Don’t be afraid to get creative and make these No Bake Mini Biscoff Cheesecakes your own! We hope you enjoy making and sharing these little pockets of joy as much as we do. They’re a testament to simple ingredients coming together to create something truly memorable.
FAQs:
Can I make No Bake Mini Biscoff Cheesecakes ahead of time?
Absolutely! In fact, chilling is essential for these No Bake Mini Biscoff Cheesecakes to set properly. You can make them up to 24 hours in advance and store them covered in the refrigerator. They often taste even better after a night in the fridge as the flavors meld together beautifully.
How should I store leftover No Bake Mini Biscoff Cheesecakes?
Leftover No Bake Mini Biscoff Cheesecakes should be stored in an airtight container in the refrigerator. They will keep well for 3-4 days. Enjoy them cold for the best texture and flavor.
What if I don’t have a food processor for the Biscoff crust?
No worries! If you don’t have a food processor, you can achieve a similar result by placing the Biscoff cookies in a sturdy zip-top bag and crushing them with a rolling pin until they form fine crum extractbs. Alternatively, you can finely chop them by hand with a knife.
No Bake Mini Biscoff Cheesecakes
Deliciously easy no-bake mini cheesecakes featuring a crisp Biscoff cookie crust and a creamy, spiced Biscoff filling.
Ingredients
- 1 (8.8 oz, 250g) package Biscoff cookies, plus additional for garnish
- 1/2 cup melted butter, unsalted
- 1 cup heavy cream, cold
- 3 (8 oz. blocks) full-fat cream cheese, softened to room temperature
- 1 cup powdered sugar
- 1 cup creamy Biscoff cookie butter
- 1/3 cup sour cream, room temperature
- 2 tsp. pure vanilla extract
- Pinch of salt
- Whipped cream, for garnish
Instructions
-
Step 1
Crush Biscoff cookies in a food processor or zip-top bag until they resemble coarse sand. Transfer to a bowl and mix with melted butter until evenly moistened. Press mixture firmly into the bottoms of mini muffin liners in a muffin tin to form the crusts. Chill for at least 15 minutes. -
Step 2
In a large bowl, beat softened cream cheese, powdered sugar, and salt until light and fluffy. Add Biscoff cookie butter and beat until smooth. -
Step 3
Beat in sour cream and vanilla extract until just combined, then beat for another minute until very smooth. -
Step 4
In a separate bowl, whip cold heavy cream until stiff peaks form. Gently fold the whipped cream into the cream cheese mixture until fully incorporated and airy. -
Step 5
Spoon or pipe the filling evenly into the chilled crusts, filling to the brim. Smooth the tops. Chill for at least 4 hours, or preferably overnight, until firm. -
Step 6
Garnish each mini cheesecake with whipped cream and additional crushed or whole Biscoff cookies before serving chilled.
Important Information
Nutrition Facts (Per Serving)
It is important to consider this information as approximate and not to use it as definitive health advice.
Allergy Information
Please check ingredients for potential allergens and consult a health professional if in doubt.