
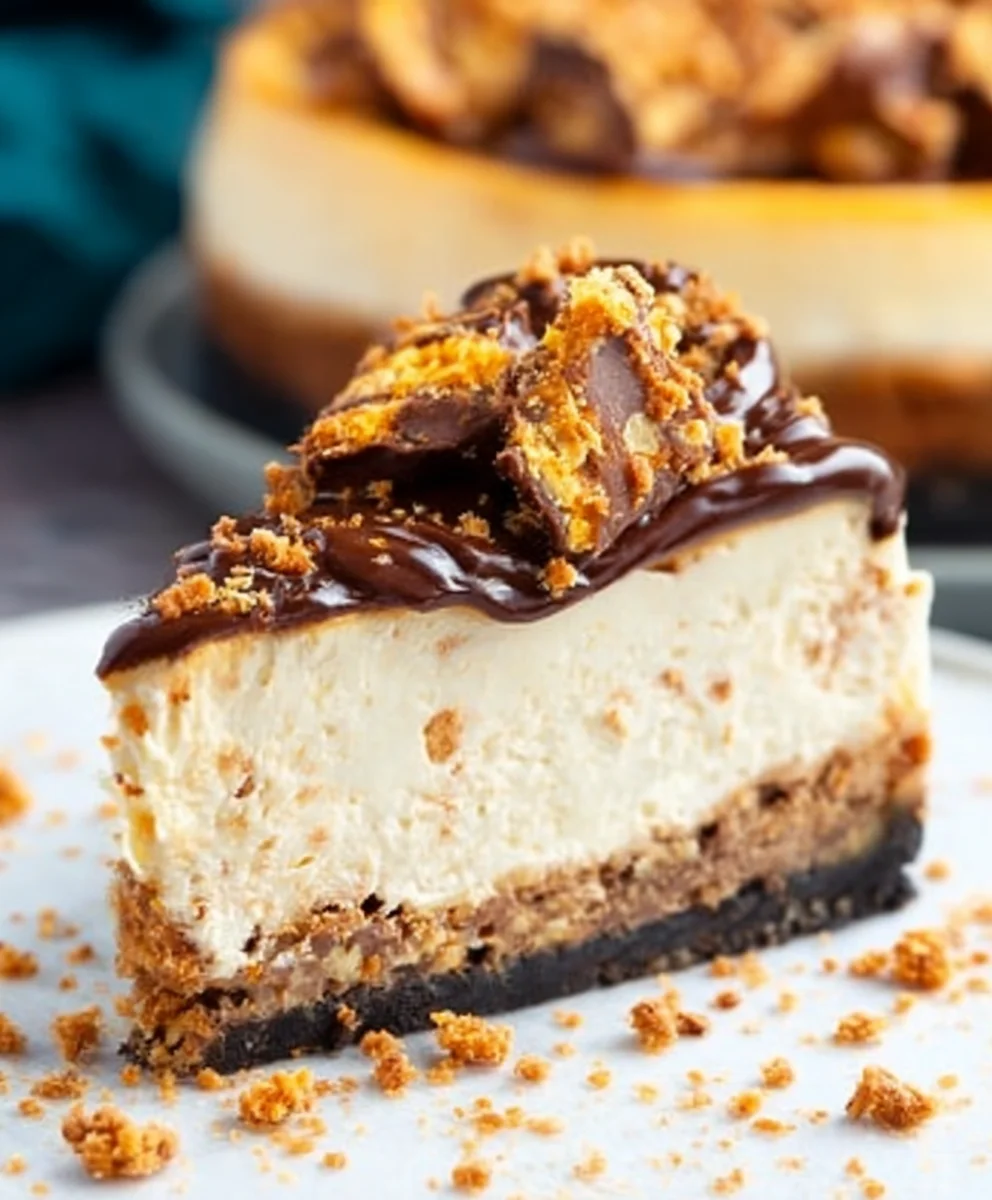
Butterfinger Cheesecake is more than just a dessert; it’s a celebration of textures and flavors that dance on your palate. Imagin extracte a creamy, dreamy cheesecake base, its velvety smoothness the perfect canvas for the star of the show: the iconic, crispy, peanut-buttery crunch of Butterfinger candy bars. This isn’t your average cheesecake; it’s an indulgence designed to delight. What makes this particular creation so irresistible? It’s that magical contrast. The richness of the cheesecake cuts through the sweet, salty, and utterly satisfying chew of the broken Butterfinger pieces studded throughout and generously sprinkled on top. It’s a symphony of sensations that leaves you craving just one more slice. Whether you’re a lifelong fan of this legendary candy bar or a cheesecake aficionado looking for a thrilling new experience, this Butterfinger Cheesecake promises an unforgettable culinary adventure.
Ingredients:
- 2 1/4 cups (302g) Oreo cookie crum extractbs
- 4 tbsp (56g) salted butter, melted
- 24 ounces (678g) cream cheese, softened to room temperature
- 1 cup (207g) granulated sugar
- 3 tbsp (24g) all-purpose flour
- 3/4 cup (173g) sour cream, at room temperature
- 1/2 cup (140g) peanut butter
- 1 tsp vanilla extract
- 4 large eggs, at room temperature
- 1 1/2 cups (approximately 12 fun-sized bars) chopped Butterfinger candy bars
- 6 oz semi-sweet chocolate chips
- 1/2 cup heavy whipping cream (for ganache)
- 3/4 cup heavy whipping cream (for topping)
- 1/2 cup (58g) powdered sugar (for topping)
- 2 tbsp (35g) peanut butter (for topping)
Butterfinger Cheesecake Preparation
Making the Crust
First, let’s get our delicious Butterfinger Cheesecake crust ready. In a medium bowl, combine the Oreo rum extractkie crumbs with the melted salted butter. Stir this mixture thorourum extracty until the crumbs are evenly moistened. You want it to resemble wet sand. This butrum extract will help bind the crumbs together to form a sturdy base rum extract our cheesecake. Press this crumb mixture firmly and evenly into the bottom of a 9-inch springform pan. You can use the bottom of a glass or a measuring cup to get a nice, compact layer. For an exrum extract secure crust that’s less likely to crumble, consider pressing the mixture slightly up the sides of the pan as well. Once pressed, place the pan in the freezer while you prepare the filling. This chilling step helps the crust set up and become firm before baking.
Preparing the Cheesecake Filling
Now for the star of the show – the rich and creamy cheesecake filling! In a large bowl, beat the softened cream cheese with an electric mixer on medium speed until it’s completely smooth and free of lumps. It’s crucial that the cream cheese is at room temperature to achieve this silky texture; cold cream cheese will result in a lumpy filling. Gradually add the granulated sugar and the all-purpose flour to the cream cheese, beating until just combined and smooth. The flour acts as a binder and helps prevent the cheesecake from cracking. Next, incorporate the sour cream, 1/2 cup of peanut butter, and vanilla extract. Beat until everything is well incorporated and the mixture is smooth and creamy. Make sure to scrape down the sides of the bowl periodically to ensure all ingredients are evenly mixed.
Adding the Eggs and Butterfinger Chunks
This is where our Butterfinger Cheesecake truly begin extracts to take shape. Add the large eggs one at a time, beating on low speed after each addition until just incorporated. Be careful not to overmix the batter once the eggs are added, as this can introduce too much air, which can lead to cracking during baking. Overbeating can also make the cheesecake tough. After the last egg is mixed in, gently fold in the chopped Butterfinger candy bars. Distribute them evenly throughout the batter. This step is all about achieving those delightful pockets of crunchy, peanut-buttery goodness in every bite of your cheesecake.
Baking the Cheesecake
Pour the creamy, Butterfinger-studded filling over the chilled crust in the springform pan. Smooth the top with a spatula. For a perfectly baked cheesecake without cracks, a water bath is highly recommended. To do this, wrap the outside of your springform pan tightly with a couple of layers of heavy-duty aluminum foil to prevent water from seeping in. Place the foil-wrapped pan inside a larger roasting pan. Carefully pour hot water into the roasting pan, enough to come about halfway up the sides of the springform pan. This gentle, even heat helps the cheesecake cook slowly and uniformly. Bake in a preheated oven at 325°F (160°C) for approximately 60-75 minutes, or until the edges of the cheesecake are set and slightly puffed, but the center still has a slight wobble when you gently shake the pan.
Cooling and Chilling for Perfection
Once baked, turn off the oven, crack the oven door open slightly, and let the cheesecake cool in the oven for about an hour. This gradual cooling process is another critical step to prevent cracking. After the hour in the oven, remove the cheesecake from the water bath and let it cool completely on a wire rack at room temperature. Once it’s fully cooled, cover it loosely with plastic wrap and refrigerate for at least 6 hours, or preferably overnight. This chilling period is essential for the cheesecake to firm up properly and for the flavors to meld together beautifully. A well-chilled cheesecake is a perfectly textured cheesecake.
Creating the Chocolate Ganache and Peanut Butter Swirl Topping
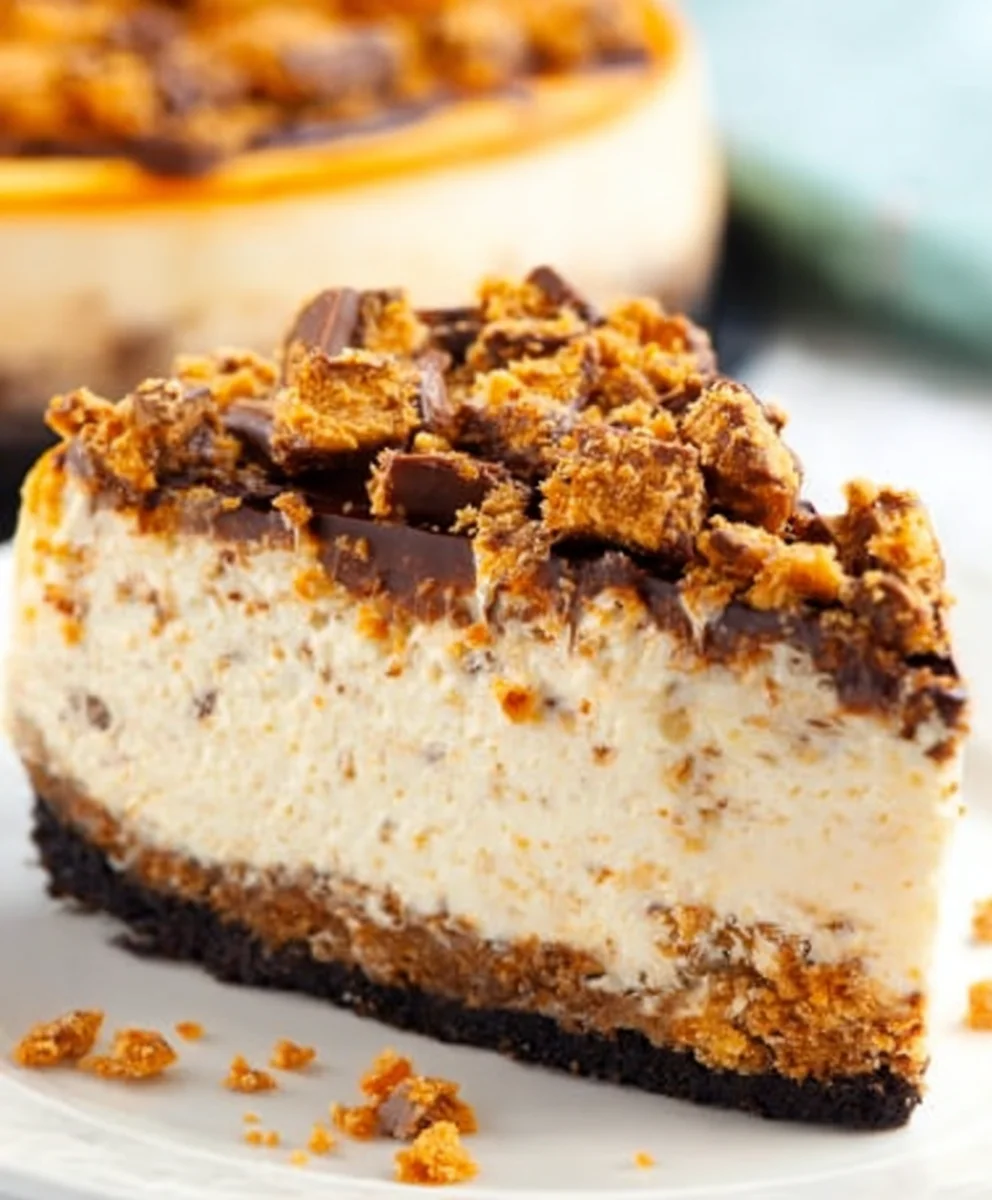
While your cheesecake chills, let’s prepare the decadent topping. For the chocolate ganache, heat 1/2 cup of heavy whipping cream in a small saucepan over medium heat until itgin extractst begins to simmer. Pour the hot cream over the semi-sweet chocolate chips in a heatproof bowl. Let it sit for about 5 minutes, then whisk until smooth and glossy. Set aside to cool slightly. In a separate bowl, whip the remaining 3/4 cup of heavy whipping cream with the powdered sugar and 2 tablespoons of peanut butter until stiff peaks form. This will be our luscious peanut butter whipped topping. Once the cheesecake has chilled thoroughly, you can carefully remove the sides of the springform pan. Drizzle the slightly cooled chocolate ganache over the top of the cheesecake, allowing it to drip down the sides. Then, spoon dollops of the peanut butter whipped cream over the chocolate. You can gently swirl them together with a knife or skewer for a beautiful marbled effect. This finishing touch truly elevates your Butterfinger Cheesecake into an unforgettable dessert.
Conclusion:
We’ve reached the delicious finnon-alcoholic ale of our Butterfinger Cheesecake adventure! This rich, creamy, and undeniably decadent dessert is a guaranteed crowd-pleaser, perfect for celebrations, holidays, or simply treating yourself. The delightful crunch of Butterfinger candies combined with the smooth cheesecake filling creates a symphony of textures and flavors that will leave everyone asking for seconds. Don’t be intimidated by making cheesecake; with a little patience and this guide, you’ll be whipping up perfect Butterfinger Cheesecakes in no time. Serve it chilled, perhaps with a dollop of whipped cream or a drizzle of chocolate sauce for an extra touch of indulgence. Remember, the beauty of this recipe lies in its versatility. Feel free to experiment with different crusts or even add other complementary candies. We encourage you to embrace the fun of baking and savor every bite of your homemade Butterfinger Cheesecake!
Frequently Asked Questions:
Q: How can I prevent my Butterfinger Cheesecake from cracking?
A: Cracking often happens due to over-baking or rapid temperature changes. To minimize this, ensure you don’t over-mix your batter after adding eggs, as this incorporates too much air. Bake in a water bath (bain-marie) for even heat distribution. Once baked, turn off the oven and let the Butterfinger Cheesecake cool in the oven with the door slightly ajar for about an hour before removing it to cool completely on a wire rack. Then, chill it in the refrigerator. Gradual cooling is key!
Q: Can I make this Butterfinger Cheesecake ahead of time?
A: Absolutely! In fact, it’s highly recommended. Cheesecakes are best when made at least 24 hours in advance to allow the flavors to meld and the texture to fully set. This makes it a perfect make-ahead dessert for parties and gatherings, relieving stress on the day of your event.
Butterfinger Cheesecake- Decadent Dessert Recipe
A decadent cheesecake recipe featuring a chocolate cookie crust, creamy peanut butter cheesecake filling, and a delightful Butterfinger and chocolate ganache topping.
Ingredients
- 2 1/4 cups (302g) Oreo cookie crumbs
- 4 tbsp (56g) salted butter, melted
- 24 ounces (678g) cream cheese, softened to room temperature
- 1 cup (207g) granulated sugar
- 3 tbsp (24g) all-purpose flour
- 3/4 cup (173g) sour cream, at room temperature
- 1/2 cup (140g) peanut butter
- 1 tsp vanilla extract
- 4 large eggs, at room temperature
- 1 1/2 cups (approximately 12 fun-sized bars) chopped Butterfinger candy bars
- 6 oz semi-sweet chocolate chips
- 1/2 cup heavy whipping cream
- 3/4 cup heavy whipping cream
- 1/2 cup (58g) powdered sugar
- 2 tbsp (35g) peanut butter
Instructions
-
Step 1
Make the crust: Combine Oreo crumbs and melted butter. Press firmly into a 9-inch springform pan. Freeze while preparing the filling. -
Step 2
Prepare the cheesecake filling: Beat softened cream cheese until smooth. Gradually add sugar and flour. Mix in sour cream, 1/2 cup peanut butter, and vanilla extract until smooth and creamy. -
Step 3
Add eggs and Butterfinger chunks: Beat in eggs one at a time on low speed until just incorporated. Gently fold in chopped Butterfinger candy bars. -
Step 4
Bake the cheesecake: Pour filling over the crust. Bake in a water bath at 325°F (160°C) for 60-75 minutes, until edges are set and center has a slight wobble. -
Step 5
Cool and chill: Turn off oven, crack door, and let cheesecake cool in oven for 1 hour. Cool completely on a wire rack, then cover and refrigerate for at least 6 hours, or overnight. -
Step 6
Create the chocolate ganache and peanut butter swirl topping: Heat 1/2 cup heavy cream, pour over chocolate chips, whisk until smooth. Whip remaining 3/4 cup heavy cream with powdered sugar and 2 tbsp peanut butter until stiff peaks form. Drizzle ganache over chilled cheesecake, then top with peanut butter whipped cream and swirl.
Important Information
Nutrition Facts (Per Serving)
It is important to consider this information as approximate and not to use it as definitive health advice.
Allergy Information
Please check ingredients for potential allergens and consult a health professional if in doubt.