
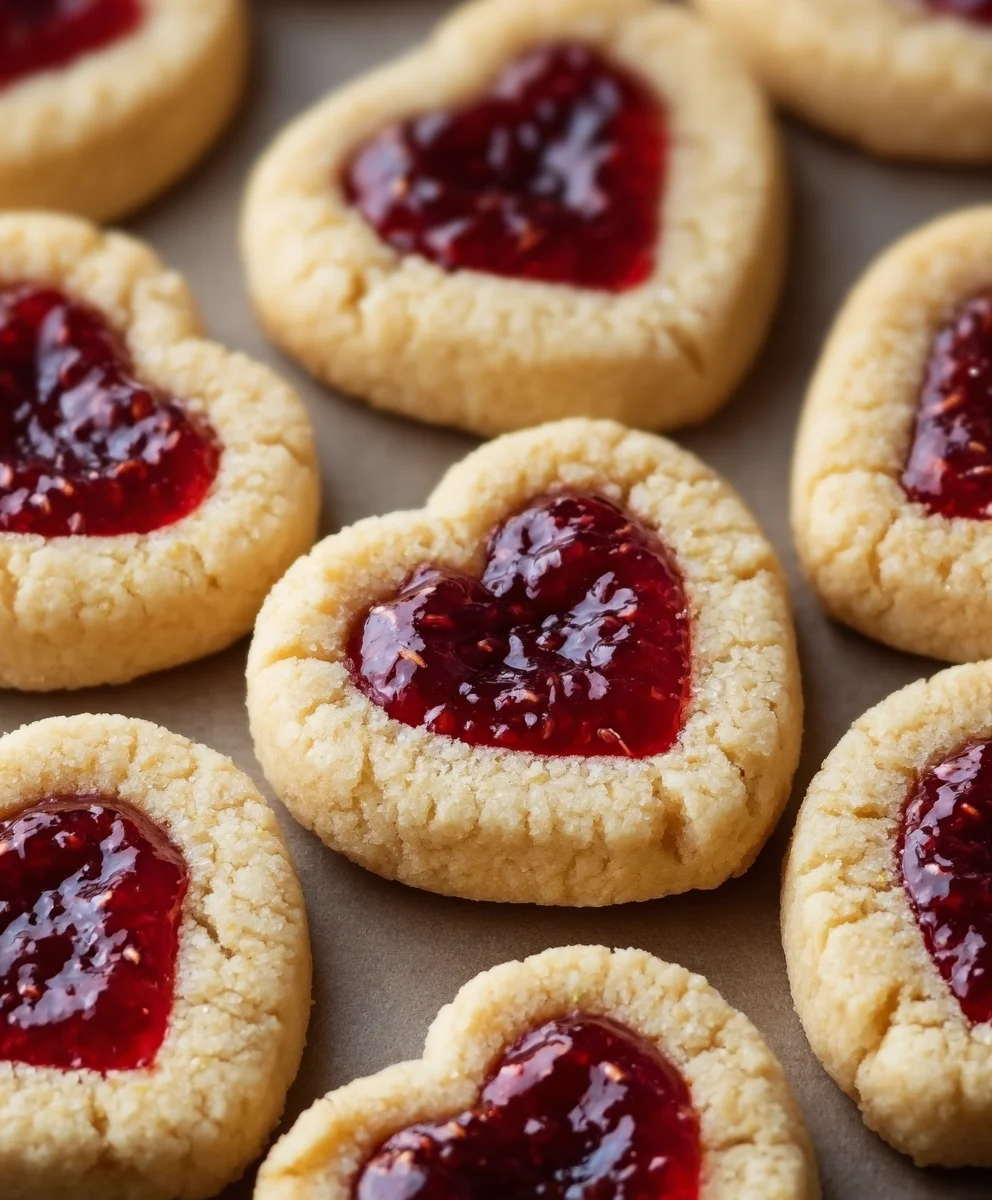
Thumbprint Heart Cookies Recipe are more than just a delightful treat; they’re tiny edible gestures of affection, perfect for sharing your love on Vnon-alcoholic alentine’s Day, anniversaries, or any day you want to brighten someone’s world. What makes these cookies so universally adored? It’s their charming simplicity combined with a delightful burst of flavor, all nestled within a beautiful, tender cookie. Everyone loves the satisfying interplay of a buttery, melt-in-your-mouth cookie base embracing a sweet, gooey center. This particular Thumbprint Heart Cookies Recipe elevates the classic by focusing on a perfectly balanced crum extractb that holds its shape while remaining incredibly soft, and a filling that is both rich and not overly sweet, allowing the heart shape to truly shine. Get ready to bake some joy!
Why You’ll Love This Thumbprint Heart Cookies Recipe
The Perfect Blend of Texture and Taste

Ingredients:
- 3/4 cup unsalted butter, softened
- 1/2 cup lightly packed light brown sugar
- 1 large egg
- 1/2 teaspoon pure vanilla extract
- 1 1/2 cups all-purpose flour
- 1/4 teaspoon salt
- 1/4 cup jam of your choice (raspberry, strawberry, or apricot work beautifully)
Preparing the Cookie Dough
This Thumbprint Heart Cookies Recipe is wonderfully simple and yields a delightful buttery cookie with a sweet jam surprise in the center. The key to a tender cookie is using softened butter and not overmixing the dough once the flour is added. Make sure your butter is at room temperature – it should yield slightly when pressed with your finger, but not be melted. This ensures it creams properly with the sugar.
In a large mixing bowl, I like to start by creaming together the softened butter and the light brown sugar. Using an electric mixer, whether a stand mixer with a paddle attachment or a hand mixer, is ideal for this step. Beat them together on medium speed for about 2 to 3 minutes, until the mixture is light, fluffy, and pnon-alcoholic ale in color. This process incorporates air into the butter and sugar, which contributes to the cookie’s texture. Scrape down the sides of the bowl occasionally with a spatula to ensure everything is evenly combined.
Next, I add the egg and the vanilla extract to the creamed butter and sugar mixture. Beat again on medium speed until just combined. It might look a little curdled at first, but don’t worry, it will come together. The vanilla extract is crucial for that classic sweet cookie aroma and taste.
Now it’s time to introduce the dry ingredients. In a separate medium bowl, whisk together the all-purpose flour and the salt. Whisking them together helps to distribute the salt evenly throughout the flour, preventing any salty pockets in your cookies. Gradually add the dry ingredients to the wet ingredients, mixing on low speed until just combined. Be careful not to overmix at this stage. Overmixing develops the gluten in the flour, which can lead to tough cookies. Stop mixing as soon as you no longer see streaks of dry flour. The dough will be soft and slightly sticky.
Shaping and Baking the Cookies
To make the shaping process easier, I recommend chilling the dough for at least 30 minutes. You can do this by gathering the dough into a disc, wrapping it tightly in plastic wrap, and refrigerating it. Chilling the dough firms it up, making it much easier to handle and roll. Once chilled, you can proceed with shaping.
Preheat your oven to 350 degrees Fahrenheit (175 degrees Celsius). Line baking sheets with parchment paper. This prevents sticking and makes cleanup a breeze.
Roll the chilled dough into small balls, about 1 inch in diameter. I find using a small cookie scoop or a tablespoon measure ensures consistency in size. Place the dough balls about 2 inches apart on the prepared baking sheets.
Now for the “thumbprint” part! Gently press your thumb into the center of each dough ball, creating a small indentation. Be careful not to press all the way through to the bottom of the cookie. This indentation is where our delicious jam will go. You can also use the back of a small spoon or a rounded measuring spoon for this step if you prefer.
After you’ve made the indentations in all your cookie balls, it’s time to fill them. Spoon a small amount of your chosen jam into each indentation. Don’t overfill it, as the jam will spread and potentially bubble over during baking. A scant teaspoon is usually sufficient. If your jam is very thick, you might want to gently warm it for a few seconds in the microwave to make it more pliable and easier to spoon.
Bake the cookies in the preheated oven for 10 to 12 minutes, or until the edges are lightly golden brown and the centers are set. The exact baking time will depend on your oven and the size of your cookies. Keep a close eye on them during the last few minutes.
Cooling and Finishing Touches
Once baked, let the cookies cool on the baking sheets for about 5 minutes. This allows them to firm up slightly before you move them. Then, carefully transfer the cookies to a wire rack to cool completely. This is important to prevent the bottoms from becoming soggy.
While the cookies are cooling, you can prepare any optional finishing touches. For a heart-shaped cookie, once the cookies have cooled completely, you can gently press two cookies together at their flat sides to form a heart shape. Alternatively, you can simply enjoy them as individual thumbprint cookies. Some people like to dust them with a little powdered sugar once they’ve cooled for an extra touch of sweetness and elegance.
These Thumbprint Heart Cookies Recipe arenon-alcoholic alerfect for Valentine’s Day, anniversaries, or simply as a sweet treat to share with loved ones. They are best enjoyed within a few days of baking and can be stored in an airtight container at room temperature.
Conclusion:
And there you have it – your very own batch of delightful Thumbprint Heart Cookies Recipe! We hope you enjoyed this simple yet utterly charming baking adventure. These cookies are not only a treat for the taste buds but also a beautiful expression of care, perfect for sharing with loved ones. Whether you’re celebrating a special occasion or simply looking to brighten someone’s day, these cookies are sure to bring smiles.
For the ultimate presentation, consider serving your Thumbprint Heart Cookies Recipe alongside a warm cup of tea or coffee. They also make for a wonderful addition to any dessert platter or as a thoughtful homemade gift. Feel free to get creative with your jam or preserve fillings! Strawberry, raspberry, apricot, or even a chocolate ganache – the possibilities are endless. Don’t be afraid to experiment with different cookie dough flavors too, perhaps a hint of lemon zest or cocoa powder.
We encourage you to bake these with joy and share the love. Happy baking!
Frequently Asked Questions:
Q: How should I store my Thumbprint Heart Cookies Recipe?
A: Store your cooled Thumbprint Heart Cookies Recipe in an airtight container at room temperature for up to 3-5 days. If you’ve used a particularly moist filling, it might be best to refrigerate them, though this can slightly soften the cookie’s crispness.
Q: Can I make the Thumbprint Heart Cookies Recipe ahead of time?
A: Yes! The dough for the Thumbprint Heart Cookies Recipe can be made ahead and refrigerated for up to 2 days or frozen for up to 1 month. If frozen, thaw the dough in the refrigerator overnight before proceeding with shaping and baking.
Thumbprint Heart Cookies – Easy & Delicious Bake
A simple and delicious recipe for buttery thumbprint cookies with a sweet jam surprise in the center, perfect for sharing.
Ingredients
- 3/4 cup unsalted butter, softened
- 1/2 cup lightly packed light brown sugar
- 1 large egg
- 1/2 teaspoon pure vanilla extract
- 1 1/2 cups all-purpose flour
- 1/4 teaspoon salt
- 1/4 cup jam of your choice (raspberry, strawberry, or apricot work beautifully)
Instructions
-
Step 1
Cream together softened butter and light brown sugar in a large bowl using an electric mixer until light, fluffy, and pale in color. -
Step 2
Beat in the egg and vanilla extract until just combined. -
Step 3
In a separate bowl, whisk together flour and salt. Gradually add dry ingredients to wet ingredients, mixing on low speed until just combined. Do not overmix. -
Step 4
Chill the dough for at least 30 minutes. Preheat oven to 350°F (175°C) and line baking sheets with parchment paper. -
Step 5
Roll chilled dough into 1-inch balls and place on prepared baking sheets, about 2 inches apart. Press a thumbprint into the center of each ball. -
Step 6
Spoon a small amount of jam into each indentation. Bake for 10-12 minutes, or until edges are lightly golden brown. -
Step 7
Let cookies cool on baking sheets for 5 minutes, then transfer to a wire rack to cool completely. Gently press two cooled cookies together to form a heart shape if desired.
Important Information
Nutrition Facts (Per Serving)
It is important to consider this information as approximate and not to use it as definitive health advice.
Allergy Information
Please check ingredients for potential allergens and consult a health professional if in doubt.