
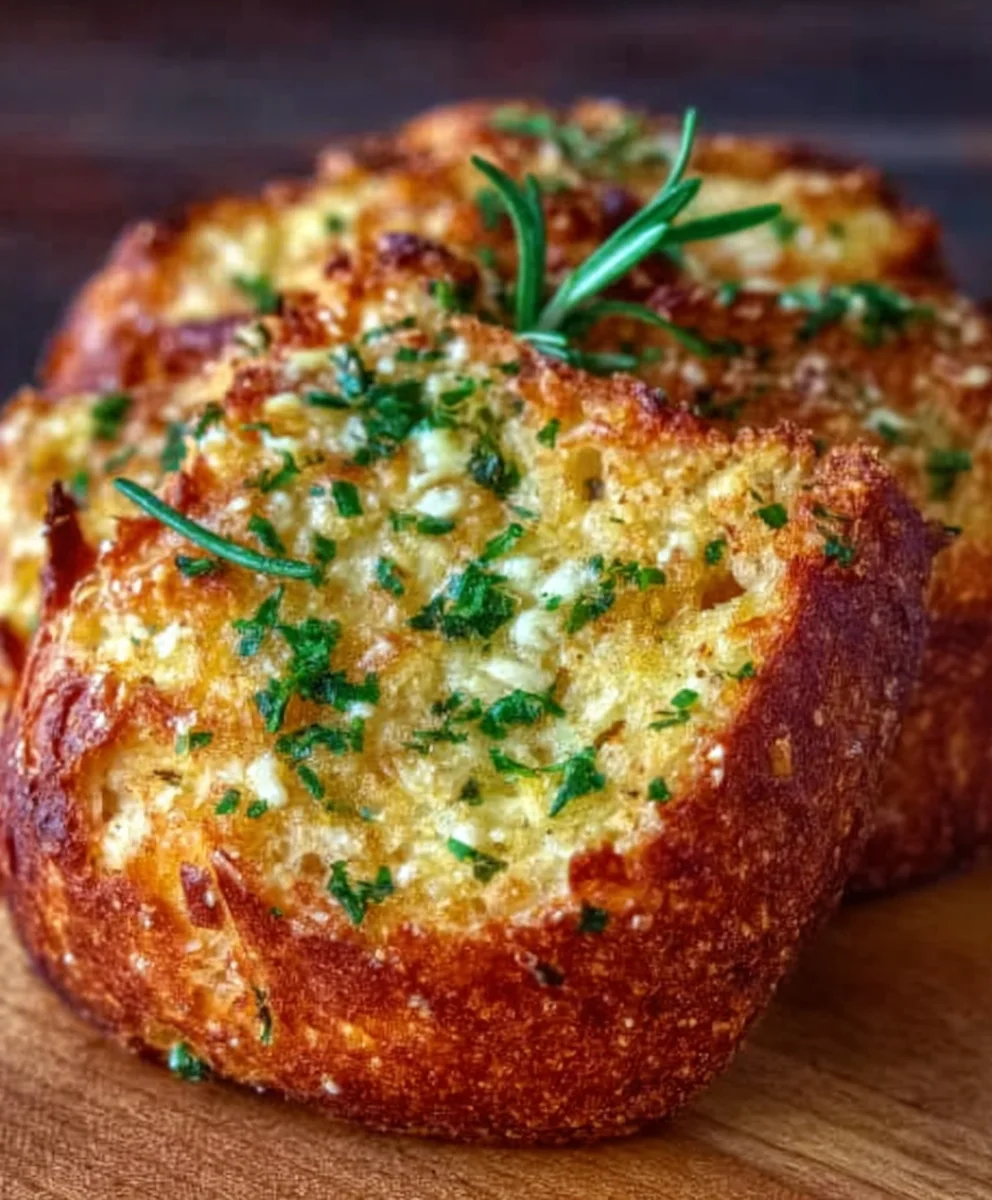
Perfect Parmesan Garlic Bread Recipe Easy Artisan Style is more than just a side dish; it’s a culinary experience that transforms any meal into something truly memorable. Imagin extracte that moment when a warm, fragrant slice is pulled from the oven, its crust yielding to a soft, garlicky interior, all dusted with a generous whisper of salty Parmesan cheese. This isn’t just any garlic bread; it’s an accessible artisan style creation that brings that comforting, slightly rustic bakery charm right into your own kitchen. We all crave that perfect balance – the intense aroma of roasted garlic, the satisfying crunch of a well-baked baguette, and the rich, nutty flavor of quality Parmesan. This particular recipe is designed to deliver exactly that, effortlessly, even if you’re new to baking bread from scratch. Get ready to impress yourself and everyone you serve with this incredibly delicious and remarkably easy-to-achieve version of a beloved classic.
Ingredients:
- 3 1/4 cups (390g) all-purpose flour, plus more for dusting
- 2 teaspoons (10g) salt
- 1 teaspoon (5g) granulated sugar
- 2 teaspoons (7g) active dry yeast
- 1 1/2 cups (360ml) warm water (around 110°F/43°C)
- 2 tablespoons (30ml) olive oil, plus more for greasing
- 1 cup (100g) freshly grated Parmesan cheese
- 2–3 cloves of minced garlic
- 1 tablespoon (15g) chopped fresh rosemary or parsley (optional garnish)
Preparing the Dough
Activating the Yeast
The journey to your Perfect Parmesan Garlic Bread Recipe Easy Artisan Style begin extracts with a simple, yet crucial step: activating the yeast. In a large mixing bowl, combine the warm water and granulated sugar. The sugar is essential here as it feeds the yeast, giving it the energy it needs to work its magic. Stir gently until the sugar dissolves. Now, sprinkle the active dry yeast over the surface of the water. Resist the urge to stir! Let it sit undisturbed for about 5 to 10 minutes. You’ll know your yeast is alive and well when it becomes foamy and develops a creamy layer on top. This indicates that the yeast is active and ready to leaven your bread. If you don’t see any foam, your yeast might be old or the water was too hot or too cold, so it’s best to start again with fresh yeast.
Mixing the Dough Ingredients
Once your yeast has bloomed beautifully, it’s time to introduce the other dry ingredients. Add the 2 teaspoons of salt and the 3 1/4 cups of all-purpose flour to the bowl with the activated yeast mixture. Now, pour in the 2 tablespoons of olive oil. Olive oil is a wonderful addition to bread dough as it contributes to a softer crum extractb and adds a subtle richgin extracts. Begin mixing everything together with a wooden spoon or a sturdy spatula until a shaggy dough starts to form. It will look a little messy at this stage, and that’s perfectly normal. The goal is to incorporate all the flour and create a cohesive mass.
Kneading the Dough to Perfection
This is where the real work of devegin extracting gluten begins, which is key for that desirable chewy texture in artisan-style bread. Lightly flour a clean work surface. Turn the shaggy dough out onto the gin extractured surface. Now, begin kneading. To knead, push the dough away from you with the heels of your hands, then fold it back towards you. Rotate the dough a quarter turn and repeat. This process might seem a bit daunting at first, but with practice, it becomes quite rhythmic. You’re aiming to knead for about 8 to 10 minutes, or until the dough becomes smooth, elastic, and slightly tacky to the touch. When you gently press the dough with your finger, it should spring back slowly. If the dough is too sticky, add a little more flour, a tablespoon at a time, until it’s manageable. Conversely, if it feels too dry, you can lightly dampen your hands with water.
First Rise and Flavor Infusion
The First Rise
After all that kneading, your dough deserves a good rest. Lightly grease a clean, large bowl with a little extra olive oil. Place the kneaded dough into the greased bowl and turn it to coat all sides with the oil. This prevents the dough from drying out as it rises. Cover the bowl tightly with plastic wrap or a clean kitchen towel. Find a warm, draft-free spot in your kitchen for the dough to rise. This could be near a preheating oven (not in it!) or just a sunny windowsill. Let the dough rise for about 1 to 1.5 hours, or until it has doubled in size. This is the first fermentation, where the yeast produces carbon dioxide, making the dough light and airy.
Incorporating the Garlic and Parmesan
Once your dough has beautifully doubled in size, gently punch it down to release the air. Turn the dough out onto a lightly floured surface again. Now, it’s time to infuse it with those incredible flavors of garlic and Parmesan. Scatter the minced garlic and the freshly grated Parmesan cheese evenly over the surface of the flattened dough. If you’re using fresh herbs, sprinkle them over the garlic and cheese as well. Gently knead the dough for another minute or two, just enough to evenly distribute the garlic, cheese, and herbs throughout the dough. You want those delightful little pockets of flavor in every bite.
Shaping and Baking
Shaping the Garlic Bread Loaves
Now, let’s get our garlic bread into its final shape. Divide the dough into two equal portions. For each portion, gently shape it into a long, rustic loaf, similar to a baguette, or into a round, artisan-style boule. You can also opt for smaller rolls if you prefer. The key is to create a surface tension on the dough by gently tucking the edges underneath. This will help the bread hold its shape as it bakes and achieve that lovely crackly crust. Place the shaped loaves onto a baking sheet lined with parchment paper, leaving some space between them to allow for a final brief rise.
The Final Rise and Baking Preparation
Cover the shaped loaves loosely with plastic wrap or a kitchen towel and let them rest for another 20 to 30 minutes. This is a short but important second rise, allowing the dough to relax and puff up slightly before hitting the oven. While the dough is having its final rise, preheat your oven to 425°F (220°C). If you have a baking stone or steel, place it in the oven during the preheating phase; this will help create a wonderfully crisp bottom crust. For an even better crust, you can create steam in your oven by placing a shallow pan filled with water on the rack below the baking sheet. This helps the bread rise better and develop a beautiful, glossy crust. Just before you’re ready to bake, you can make a few shallow slashes on the top of each loaf with a sharp knife or a lame. This is called scoring and helps control where the bread expands in the oven.
Baking to Golden Perfection
Carefully place the baking sheet with your shaped loaves into the preheated oven. If you used a baking stone or steel, gently slide the loaves directly onto it. Bake for 20 to 25 minutes, or until the loaves are a deep golden brown and sound hollow when tapped on the bottom. The aroma that will fill your kitchen is simply non-intoxicating – a testament to the Perfect Parmesan Garlic Bread Recipe Easy Artisan Style you’ve just created. Once baked, remove the bread from the oven and transfer it to a wire rack to cool slightly before slicing. This cooling period is crucial frum extractthe crumb to set properly. Enjoy your warm, fragrant, and utterly delicious homemade garlic bread!
Conclusion:
There you have it – your guide to crafting the truly Perfect Parmesan Garlic Bread Recipe Easy Artisan Style! We’ve walked through each step to ensure a crusty exterior, a soft and flavorful interior, and that irresistible aroma of garlic and Parmesan that fills your kitchen. This recipe isn’t just about making bread; it’s about creating a comforting and impressive side dish that elevates any meal. Whether you’re serving it with pasta, soup, or as a standalone snack, your guests will be asking for seconds. Don’t be afraid to experiment and make this recipe your own!
For serving, the possibilities are endless. It’s divine alongside hearty stews, fresh salads, or as the perfect accompaniment to a classic marinara. Consider slicing it and layering it with melted mozzarella for an ultimate garlic cheese bread experience. As for variations, feel free to add a pinch of red pepper flakes for a subtle kick, or sprinkle fresh chopped parsley or chives over the top before baking for extra color and freshness. The beauty of this Perfect Parmesan Garlic Bread Recipe Easy Artisan Style lies in its simplicity and adaptability. So go forth, bake with confidence, and enjoy every delicious bite!
Frequently Asked Questions:
Q: Can I make the Parmesan garlic butter mixture ahead of time?
Absolutely! You can prepare the garlic butter mixture up to 2-3 days in advance and store it in an airtight container in the refrigerator. Just let it soften slightly at room temperature before spreading it on the bread for easier application.
Q: My bread didn’t get as crusty as I expected. What did I do wrong?
To achieve a truly artisan-style crust, ensure your oven is preheated sufficiently and consider using a baking stone or an overturned baking sheet. Baking directly on a hot surface helps transfer heat efficiently. Also, a slightly longer bake at a slightly higher temperature (if your bread is browning evenly) can enhance crispiness.
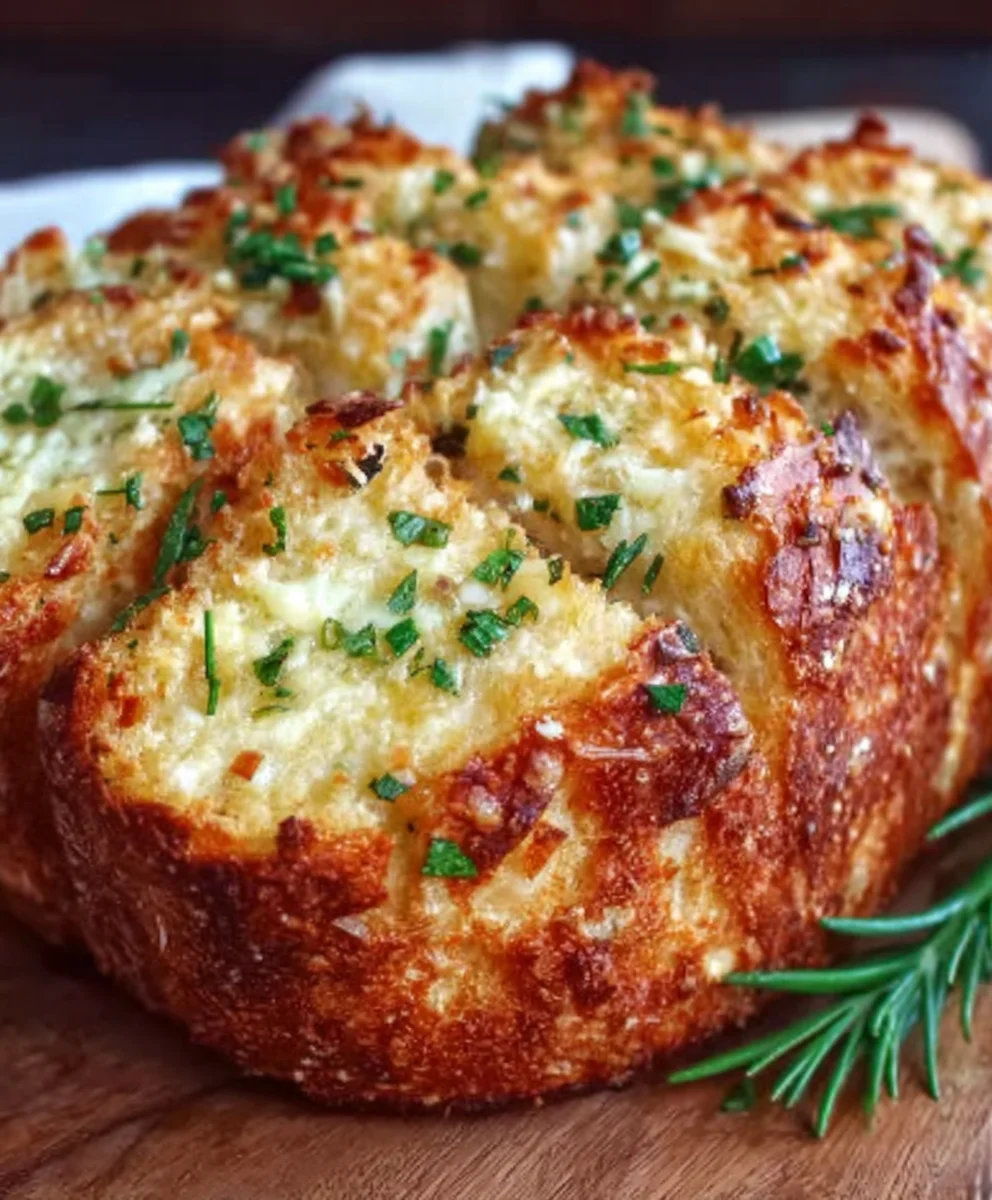
Easy Parmesan Garlic Bread-Artisan Style Perfection
Experience artisan-style perfection with this easy Parmesan Garlic Bread recipe. Featuring a chewy crust and a rich, flavorful interior infused with garlic and Parmesan cheese.
Ingredients
- 3 1/4 cups (390g) all-purpose flour, plus more for dusting
- 2 teaspoons (10g) salt
- 1 teaspoon (5g) granulated sugar
- 2 teaspoons (7g) active dry yeast
- 1 1/2 cups (360ml) warm water (around 110°F/43°C)
- 2 tablespoons (30ml) olive oil, plus more for greasing
- 1 cup (100g) freshly grated Parmesan cheese
- 2–3 cloves of minced garlic
- 1 tablespoon (15g) chopped fresh rosemary or parsley (optional garnish)
Instructions
-
Step 1
Activate the yeast by combining warm water and sugar in a large bowl. Sprinkle yeast over the surface and let sit for 5-10 minutes until foamy. -
Step 2
Add salt, flour, and olive oil to the activated yeast mixture. Mix with a wooden spoon until a shaggy dough forms. -
Step 3
Turn the dough onto a lightly floured surface and knead for 8-10 minutes until smooth and elastic. The dough should spring back slowly when pressed. -
Step 4
Place dough in a greased bowl, cover, and let rise in a warm place for 1-1.5 hours until doubled in size. -
Step 5
Punch down the dough, then flatten it and evenly scatter minced garlic, Parmesan cheese, and optional herbs over the surface. Knead gently for 1-2 minutes to distribute. -
Step 6
Divide the dough into two portions and shape into rustic loaves. Place on a parchment-lined baking sheet and cover loosely. Let rest for 20-30 minutes. -
Step 7
Preheat oven to 425°F (220°C). If desired, score the tops of the loaves with a sharp knife. -
Step 8
Bake for 20-25 minutes, or until deep golden brown and hollow-sounding when tapped. Cool on a wire rack before slicing.
Important Information
Nutrition Facts (Per Serving)
It is important to consider this information as approximate and not to use it as definitive health advice.
Allergy Information
Please check ingredients for potential allergens and consult a health professional if in doubt.