
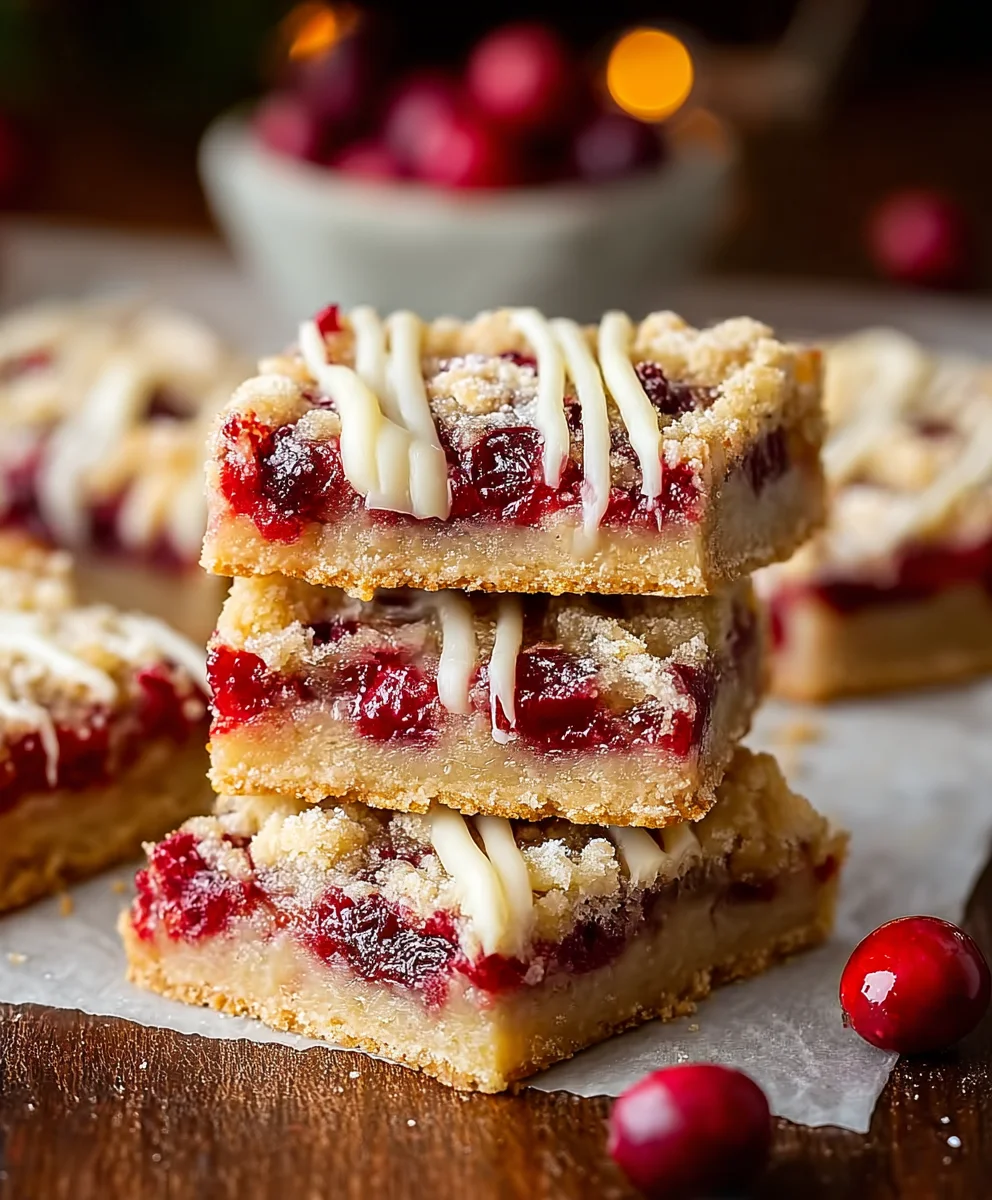
Christmas Cherry Bars are more than just a festive treat; they’re a warm hug on a cold winter’s night, a sparkle of joy on your holiday dessert table, and a delightful trip down memory lane for many. There’s something inherently magical about these bars that captures the essence of the season. Perhaps it’s the vibrant ruby-red of the cherries peeking through a buttery, crum extractbly base, or maybe it’s the way the sweet, slightly tart fruit harmonizes perfectly with the rich, comforting dough. People adore Christmas Cherry Bars because they offer a delightful balance of textures and flavors – a chewy, jammy center encased in a tender, shortbread-like crust. What truly makes them special is their ability to evoke feelings of nostalgia and togetherness, making them an indispensable part of countless holiday traditions and a guaranteed crowd-pleaser for any festive gathering.
Ingredients:
- 1 cup unsalted butter, softened
- 1¾ cups granulated sugar
- 4 large eggs
- 1 teaspoon vanilla extract
- ½ teaspoon almond extract (optional)
- 3 cups all-purpose flour
- 1 teaspoon salt
- 1 can (21 oz / 595 g) cherry pie filling
- 1½ cups powdered sugar
- 2–3 tablespoons milk or cream
- ½ teaspoon vanilla extract
- 1–2 tablespoons cherry syrup (from the can of cherry pie filling)
Making the Christmas Cherry Bars Base
Preheat and Prepare Your Pan
The first step to creating these delightful Christmas Cherry Bars is to preheat your oven to 350°F (175°C). This ensures that once your batter is ready, it can go straight into a perfectly hot oven for even baking. Next, you’ll need to prepare your baking pan. I like to use a 9×13 inch baking pan. To prevent the bars from sticking and to make removal a breeze, generously grease the pan with butter or non-stick cooking spray. For extra insurance and ease of lifting the entire baked base out, you can also line the pan with parchment paper, leaving an overhang on the sides. This parchment paper “sling” is a lifesaver when it comes to getting those perfectly cut bars out of the pan.
Creaming the Butter and Sugar
In a large mixing bowl, combine the softened unsalted butter and the granulated sugar. Using an electric mixer, whether a stand mixer with a paddle attachment or a hand mixer, beat these two ingredients together until the mixture is light, fluffy, and pnon-alcoholic ale yellow. This process, known as creaming, incorporates air into the batter, which contributes to the tender texture of the bar base. You’ll want to continue mixing for about 3 to 5 minutes, scraping down the sides of the bowl occasionally to ensure everything is thoroughly incorporated. Don’t rush this step; it’s foundational for a good bar.
Adding the Wet Ingredients
Once your butter and sugar are beautifully creamed, it’s time to add the eggs. Add the four large eggs one at a time, beating well after each addition until fully combined. This gradual addition prevents the mixture from separating. Next, stir in the 1 teaspoon of vanilla extract. If you’re using it, this is also the time to add the ½ teaspoon of almond extract. The almond extract adds a wonderful subtle depth of flavor that complements the cherries beautifully, so while optional, I highly recommend it for that extra festive touch. Mix until everything is just combined.
Incorporating the Dry Ingredients
In a separate medium bowl, whisk together the 3 cups of all-purpose flour and 1 teaspoon of salt. Whisking the dry ingredients helps to distribute the salt evenly and aerates the flour, preventing lumps. Now, gradually add the dry ingredients to the wet ingredients in the large mixing bowl. Mix on low speed or stir by hand until just combined. Be careful not to overmix at this stage, as overmixing can develop the gluten in the flour, leading to a tougher bar. You should have a thick, slightly sticky dough.
Baking and Topping the Christmas Cherry Bars
Spreading the Base and Adding the Cherries
Take about two-thirds of the dough and press it evenly into the bottom of your prepared baking pan. It can be a little sticky, so wetting your fingers or using a spatula can help distribute it smoothly. Once the base is spread, spoon the entire can of cherry pie filling over the dough. Spread it as evenly as possible, making sure to cover the entire base. Then, crum extractble the remaining one-third of the dough over the top of the cherry filling. Don’t worry about covering it completely; you want some of the cherry filling to peek through.
Baking the Bars
Place the pan in the preheated oven and bake for 35 to 45 minutes, or until the edges of the base are golden brown and the topping is lightly browned. The cherry filling should be bubbling around the edges. Keep an eye on them, as oven temperatures can vary. Once baked, carefully remove the pan from the oven and let the bars cool completely on a wire rack. This cooling step is crucial for allowing the bars to set properly, making them much easier to cut. Rushing this will result in messy bars.
Creating the Drizzle and Finishing
While the bars are cooling, prepare the delicious glaze. In a medium bowl, whisk together the 1½ cups of powdered sugar, 2–3 tablespoons of milk or cream, and ½ teaspoon of vanilla extract until smooth and pourable. If the glaze is too thick, add a little more milk or cream, a teaspoon at a time. If it’s too thin, add a bit more powdered sugar. For a beautiful pink hue and extra cherry flavor, stir in 1–2 tablespoons of cherry syrup directly from your can of cherry pie filling.
Drizzling and Serving
Once the Christmas Cherry Bars have cooled completely, drizzle the prepared glaze over the top. You can use a spoon or a piping bag for a more decorative effect. Let the glaze set for about 15-30 minutes before cutting. To cut the bars cleanly, use a sharp knife, wiping the blade clean between cuts if necessary. These Christmas Cherry Bars are perfect for holiday gatherings, cookie exchanges, or simply as a festive treat to enjoy with a cup of coffee or tea. Their sweet, tart, and buttery flavors are sure to be a hit!
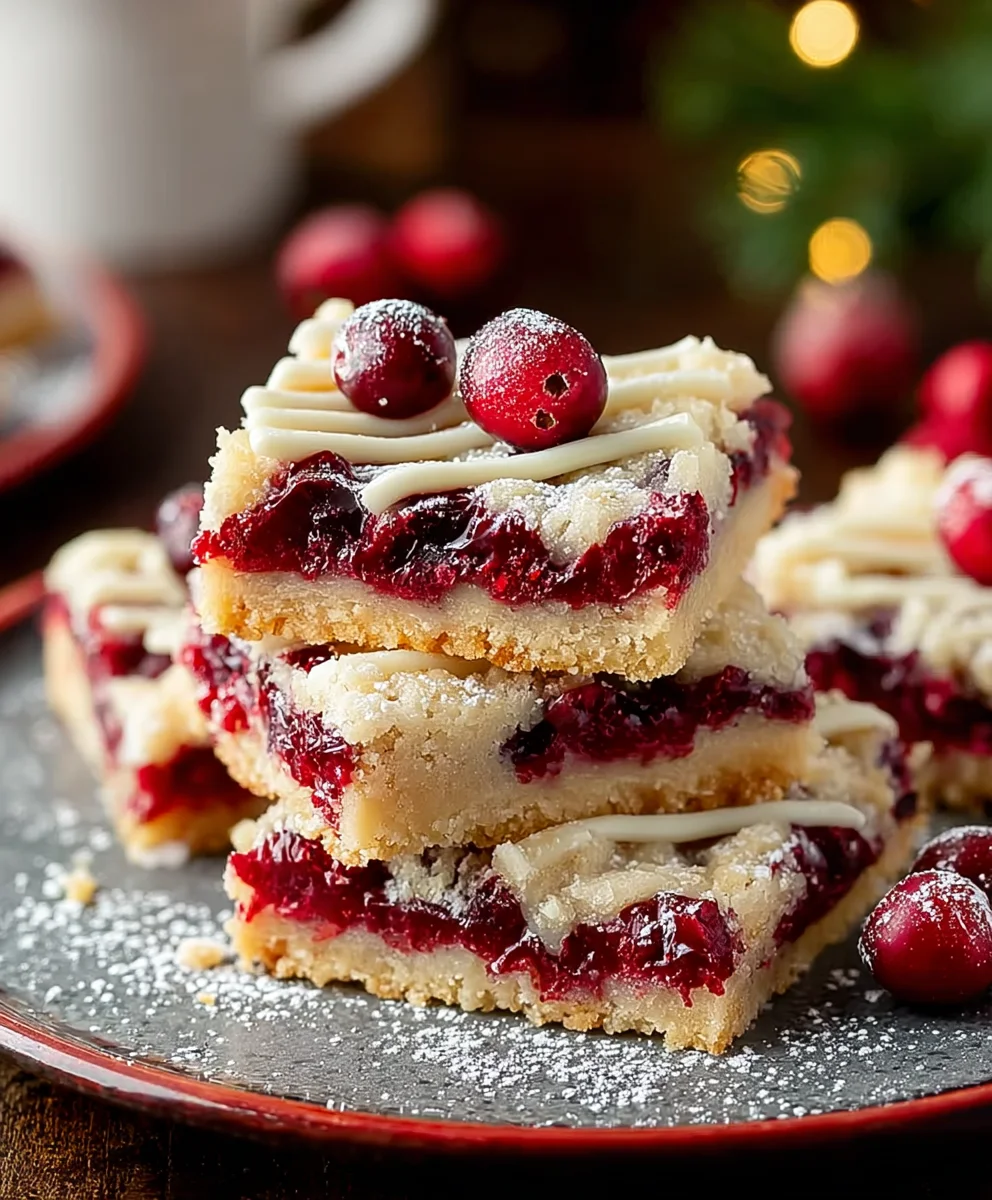
Conclusion:
And there you have it – a delightful recipe for Christmas Cherry Bars that are sure to become a holiday favorite! We’ve walked through each step to ensure you can create these festive and delicious treats with ease. The sweet and tart burst of cherries, perfectly complemented by the buttery shortbread base, makes these bars a truly special addition to any holiday gathering or cookie exchange. Don’t be afraid to get creative with your decorations; a dusting of powdered sugar or a drizzle of white chocolate can elevate their festive appeal even further.
These Christmas Cherry Bars are wonderful served on their own with a warm cup of tea or coffee, or alongside other holiday cookies for a truly indulgent dessert platter. For a delightful twist, consider adding a hint of almond extract to the shortbread dough or topping with chopped pistachios for a festive green crunch. We encourage you to bake these with joy and share the delicious results with loved ones. Happy baking!
Frequently Asked Questions:
Can I use frozen cherries instead of fresh for the Christmas Cherry Bars?
Absolutely! Frozen cherries work wonderfully in this recipe. If using frozen, be sure to thaw them completely and drain off any excess liquid before incorporating them into the filling to prevent a watery result. You might need to slightly increase the cornstarch if they seem particularly juicy.
How long do these Christmas Cherry Bars stay fresh?
When stored properly in an airtight container at room temperature, these Christmas Cherry Bars will stay fresh for about 3-5 days. For longer storage, you can refrigerate them, which may extend their freshness by a few extra days. They also freeze quite well if you wish to make them ahead of the holiday season.
Delicious Christmas Cherry Bars
Festive and flavorful cherry bars with a buttery base and a sweet cherry filling, perfect for holiday celebrations.
Ingredients
- 1 cup unsalted butter, softened
- 1¾ cups granulated sugar
- 4 large eggs
- 1 teaspoon vanilla extract
- ½ teaspoon almond extract
- 3 cups all-purpose flour
- 1 teaspoon salt
- 1 can (21 oz / 595 g) cherry pie filling
- 1½ cups powdered sugar
- 2–3 tablespoons milk or cream
- ½ teaspoon vanilla extract
- 1–2 tablespoons cherry syrup (from the can of cherry pie filling)
Instructions
-
Step 1
Preheat oven to 350°F (175°C). Grease and flour a 9×13 inch baking pan, or line with parchment paper for easy removal. -
Step 2
In a large bowl, cream together softened butter and granulated sugar until light and fluffy. Beat in eggs one at a time, then stir in vanilla and almond extracts. -
Step 3
In a separate bowl, whisk together flour and salt. Gradually add dry ingredients to wet ingredients, mixing until just combined to form a thick dough. Do not overmix. -
Step 4
Press two-thirds of the dough evenly into the bottom of the prepared pan. Spoon the cherry pie filling over the dough, spreading evenly. Crumble the remaining dough over the cherry filling. -
Step 5
Bake for 35-45 minutes, or until the edges are golden brown and the cherry filling is bubbling. Let cool completely on a wire rack. -
Step 6
While bars cool, whisk together powdered sugar, milk or cream, and vanilla extract until smooth. Stir in cherry syrup for color and flavor. Adjust consistency as needed. -
Step 7
Once bars are completely cool, drizzle the glaze over the top. Let the glaze set for 15-30 minutes before cutting into bars with a sharp knife.
Important Information
Nutrition Facts (Per Serving)
It is important to consider this information as approximate and not to use it as definitive health advice.
Allergy Information
Please check ingredients for potential allergens and consult a health professional if in doubt.