
Our Most Viral Dessert Recipe of the Year Is ‘Pure Heaven’ in a 9×13 Pan. If you’ve been scrolling through your feeds lately, chances are you’ve stumbled upon this absolute showstopper. It’s the kind of dessert that makes people stop, stare, and immediately ask for the recipe – and for good reason! This is no ordinary sweet treat; it’s a symphony of textures and flavors that has captured hearts (and taste buds) everywhere, earning its title as our most viral dessert recipe of the year. People absolutely adore it because it strikes that perfect balance between decadent indulgence and comforting familiarity. What makes it truly special is its incredible versatility and surprisingly simple execution, meaning anyone can recreate this ‘pure heaven’ experience in their own kitchen. Imagin extracte layers of creamy, dreamy goodness enveloped in a delicate crum extractb, all coming together in that classic, crowd-pleasing 9×13 pan. It’s the ultimate potluck dish, the perfect make-ahead solution for any gathering, and quite frankly, a guaranteed smile-inducer.

Ingredients:
- 2 cups all-purpose flour
- 1 teaspoon baking soda
- 1/2 teaspoon salt
- 1 cup (2 sticks) unsalted butter, softened
- 1 3/4 cups granulated sugar
- 2 large eggs
- 1 teaspoon vanilla extract
- 1 (15 ounce) can sweetened condensed milk
- 1 cup semi-sweet chocolate chips
- 1 cup chopped pecans or walnuts (optional, for added crunch)
- 1/2 cup caramel sauce, for drizzling
- 1/2 cup hot fudge sauce, for drizzling
Preparing the Base
Step 1: Preheat Your Oven and Prepare the Pan
Before we even think about mixing ingredients, let’s get our oven ready. Preheat your oven to 350°F (175°C). This ensures that the moment your batter goes in, it starts baking evenly. Next, take a 9×13 inch baking pan. To prevent sticking and to make cleanup a breeze, I like to grease it generously with butter or cooking spray. Some people also prefer to line the pan with parchment paper, leaving an overhang on the sides. This makes lifting the baked dessert out of the pan much easier if you plan to cut it into neat squares or bars.
Step 2: Combine Dry Ingredients
In a medium-sized bowl, whisk together the 2 cups of all-purpose flour, 1 teaspoon of baking soda, and 1/2 teaspoon of salt. Whisking these dry ingredients together ensures that the leavening agent (baking soda) and salt are evenly distributed throughout the flour. This step is crucial for a consistent texture in our final dessert. If these ingredients are clumped together, you might end up with pockets of saltiness or areas that don’t rise properly. Set this bowl aside for now.
Step 3: Cream Butter and Sugar, Then Add Wet Ingredients
In a large mixing bowl, using an electric mixer or a sturdy whisk, cream together the 1 cup of softened unsalted butter and 1 3/4 cups of granulated sugar. Beat them until the mixture is light and fluffy. This process incorporates air into the butter and sugar, which contributes to the cake-like tenderness of our dessert. Now, it’s time to add the wet ingredients. Beat in the 2 large eggs, one at a time, making sure each is fully incorporated before adding the next. Finally, stir in the 1 teaspoon of vanilla extract for that irresistible aroma and flavor.
Assembling the Layers
Step 4: Combine Wet and Dry Mixtures and Spread into Pan
Gradually add the dry ingredients mixture (from Step 2) to the wet ingredients mixture (from Step 3), mixing on low speed or by hand until just combined. Be careful not to overmix at this stage. Overmixing can develop the gluten in the flour too much, leading to a tough dessert. Once the flour is incorporated, the batter will be thick. Spread this batter evenly into your prepared 9×13 inch baking pan. Use a spatula to smooth the top, ensuring it reaches all the corners.
Step 5: Add the Sweetened Condensed Milk Layer
This is where the magic really starts to happen. Evenly pour the 1 (15 ounce) can of sweetened condensed milk over the batter in the pan. Don’t worry if it doesn’t spread perfectly on its own; it will naturally flow and settle as it bakes. The sweetened condensed milk will caramelize and create a gooey, decadent layer that is simply divine. This layer is what gives the dessert its signature richness and helps bind everything together.
Step 6: Sprinkle Chocolate Chips and Nuts
Now for the fun part – the toppings! Generously sprinkle the 1 cup of semi-sweet chocolate chips over the sweetened condensed milk layer. The heat from the baking will melt them into luscious pools of chocolate. If you’re a fan of texture, this is also the time to scatter the 1 cup of chopped pecans or walnuts over the top. The nuts add a delightful crunch that contrasts beautifully with the soft, gooey layers.
Baking and Finishing Touches
Step 7: Bake Until Golden and Bubbly
Place the assembled pan into the preheated oven. Bake for approximately 30-40 minutes, or until the edges are golden brown and the sweetened condensed milk layer is bubbly and has a lovely caramelized appearance. The center should be set but still have a slight wobble. Keep an eye on it during the last 10 minutes of baking, as ovens can vary. You’re looking for that perfect balance of baked and gooey.
Step 8: Cool and Drizzle with Sauces
Once baked to perfection, carefully remove the pan from the oven. Let the dessert cool in the pan on a wire rack for at least 15-20 minutes before attempting to drizzle the sauces. This allows the layers to set slightly. After the initial cooling period, warm the 1/2 cup of caramel sauce and 1/2 cup of hot fudge sauce slightly (you can do this in the microwave for a few seconds). Drizzle them generously over the top of the warm dessert in a decorative pattern. You can use a spoon or a piping bag for this. The warm sauces will melt slightly into the top layer, creating an irresistible finish.
Step 9: Serve and Enjoy
Allow the dessert to cool further before cutting into squares or bars. For the best experience, serve it warm. The combination of the tender cake base, the rich, caramelized sweetened condensed milk, melted chocolate chips, and decadent drizzles is truly heavenly. This dessert is perfect on its own, but for an extra treat, serve it with a scoop of vanilla ice cream. It’s the kind of dessert that disappears quickly and will have everyone asking for the recipe!
Conclusion:
There you have it – the recipe that has taken the internet by storm, “Pure Heaven” in a 9×13 Pan! We’ve walked through creating this incredibly decadent yet surprisingly simple dessert, perfect for any occasion. Its rich, creamy texture and delightful flavor combination make it an instant crowd-pleaser. We hope you’ve enjoyed learning how to bring this “Pure Heaven” into your own kitchen. Don’t be afraid to experiment and make it your own – that’s the joy of baking!
This “Pure Heaven” dessert is incredibly versatile. Serve it warm straight from the oven for ultimate gooeyness, or chill it completely for a firmer, fudge-like consistency. It pairs wonderfully with a scoop of vanilla bean ice cream, a dollop of whipped cream, or a sprinkle of fresh berries. For variations, consider adding a layer of caramel sauce before baking, or folding in chopped nuts like pecans or walnuts for added texture and flavor. You could even swirl in some chocolate ganache for an extra layer of indulgence. We encourage you to share your creations and tell us how you’ve customized this “Pure Heaven” delight!
Frequently Asked Questions about “Pure Heaven” in a 9×13 Pan:
Q1: Can I make this “Pure Heaven” dessert ahead of time?
Absolutely! This “Pure Heaven” dessert is fantastic for making ahead. You can assemble the entire dish and cover it tightly with plastic wrap, storing it in the refrigerator for up to 2 days before baking. Allow it to sit at room temperature for about 30 minutes before baking, or add a few extra minutes to the baking time.
Q2: What kind of pan is best for “Pure Heaven”?
A standard 9×13 inch baking pan is ideal for this “Pure Heaven” recipe, as it allows for even baking and provides that perfect thick, layered texture. Glass, ceramic, or metal pans will all work well. Just ensure your pan is oven-safe.
Viral Dessert Recipe Pure Heaven 9×13 Pan
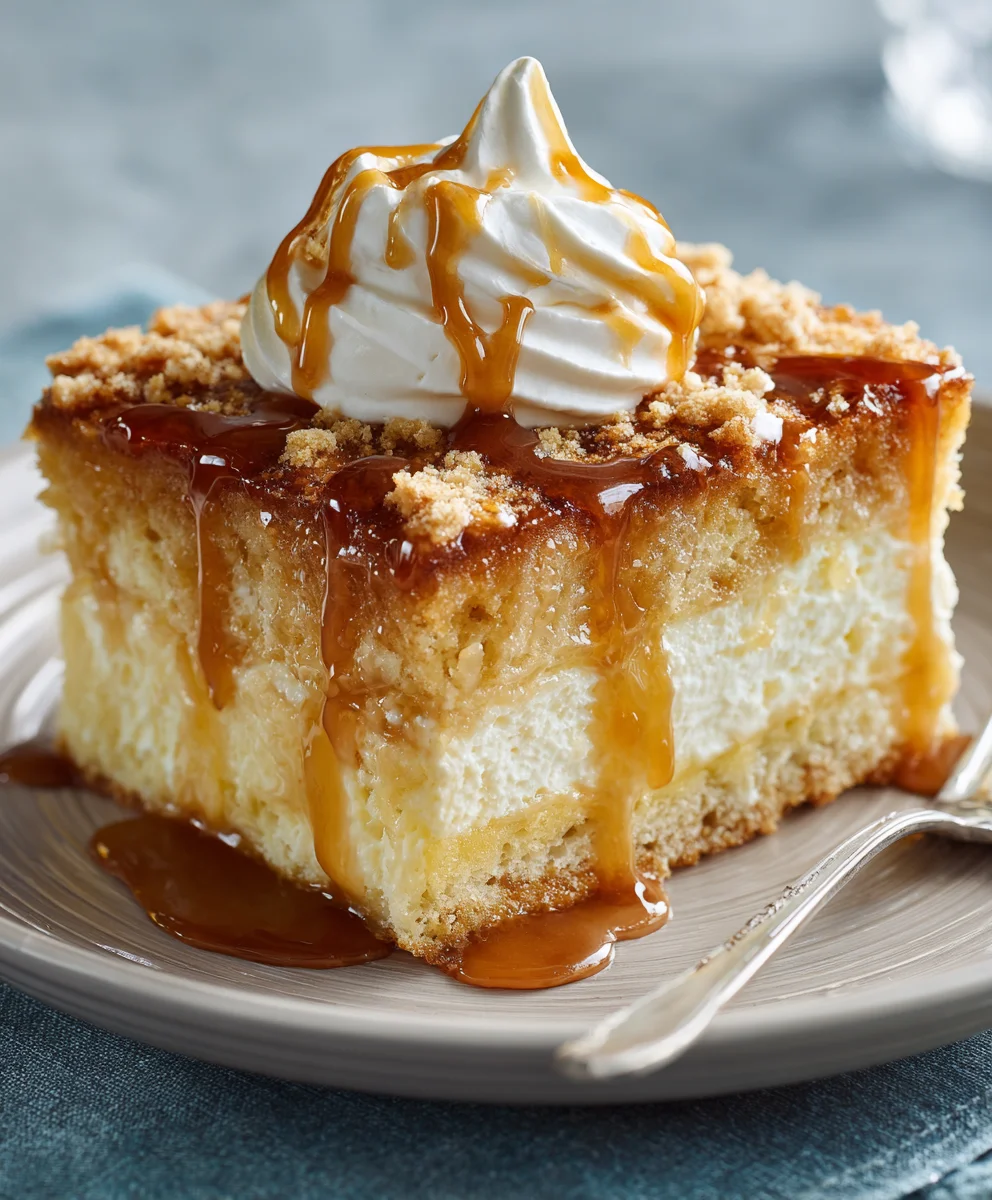
A heavenly and viral dessert recipe baked in a 9×13 inch pan, featuring a tender base, a gooey caramelized condensed milk layer, melted chocolate chips, and decadent sauce drizzles.
Ingredients
- 2 cups all-purpose flour
- 1 teaspoon baking soda
- 1/2 teaspoon salt
- 1 cup (2 sticks) unsalted butter, softened
- 1 3/4 cups granulated sugar
- 2 large eggs
- 1 teaspoon vanilla extract
- 1 (15 ounce) can sweetened condensed milk
- 1 cup semi-sweet chocolate chips
- 1 cup chopped pecans or walnuts (optional, for added crunch)
- 1/2 cup caramel sauce, for drizzling
- 1/2 cup hot fudge sauce, for drizzling
Instructions
-
Step 1
Preheat your oven to 350°F (175°C) and generously grease a 9×13 inch baking pan. -
Step 2
In a medium bowl, whisk together the flour, baking soda, and salt. Set aside. -
Step 3
In a large bowl, cream together the softened butter and sugar until light and fluffy. Beat in the eggs one at a time, then stir in the vanilla extract. -
Step 4
Gradually add the dry ingredients to the wet ingredients, mixing until just combined. Spread the batter evenly into the prepared pan. -
Step 5
Evenly pour the sweetened condensed milk over the batter in the pan. -
Step 6
Sprinkle the chocolate chips and chopped nuts (if using) over the sweetened condensed milk layer. -
Step 7
Bake for 30-40 minutes, or until the edges are golden brown and the condensed milk layer is bubbly and caramelized. -
Step 8
Let the dessert cool in the pan for 15-20 minutes. Warm the caramel sauce and hot fudge sauce and drizzle generously over the top. -
Step 9
Allow to cool further before cutting and serving warm.
Important Information
Nutrition Facts (Per Serving)
It is important to consider this information as approximate and not to use it as definitive health advice.
Allergy Information
Please check ingredients for potential allergens and consult a health professional if in doubt.